Wearing your lapel microphone the right way (the way your public safety department advises you to wear it) makes sure you can hear dispatch and others on the channel.
There are several ways in which someone can wear a radio speaker microphone. This includes attaching it to your collar or uniform, laying it on top of your vest, and more.
They all have their pros and cons. Plus; certain agencies have a certain way of doing things. It's hard to keep track of all your options and which one is the “right” way to wear it.
This post will cover all of the basics while laying out some suggestions that we found to be the most recommended.
How Important is Speaker Microphone Placement?
It’s important to wear a speaker microphone in a way that’s going to keep you safe and communicate the easiest. The correct positioning can help improve communication and reduce stress. If your speaker mic is not in the right place, you might not be able to reach it quickly to respond or be able to hear radio transmission.
There are a lot of opinions on this topic regarding what’s the safest and most sound placement for a speaker microphone. Our suggestions in this post come from studies and expert opinions.

Best Placement for Law Enforcement
The Typical Way
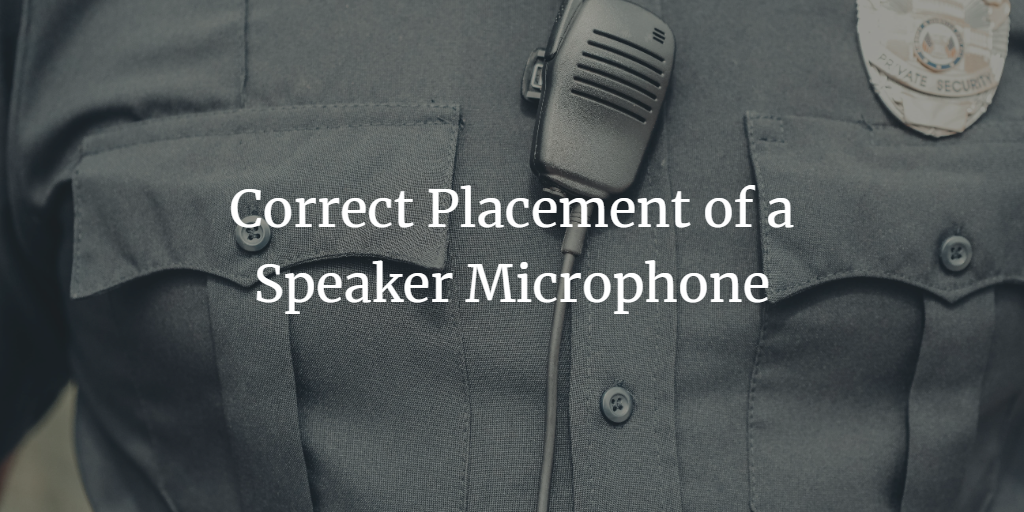
Place the speaker mic on your uniform so it rests on your shoulder just above your collar bone.
This is how you usually see a speaker mic worn by law enforcement. It clips to the uniform on the shoulder and falls just above the collar bone. The cable runs from your radio behind your back.
This is most common because the speaker mic rests close to your mouth and ear, so you are heard clearly over the radio.
A downside to wearing it this way is it can cause discomfort while sitting or in a vehicle, since the cable rests on your back. Another drawback is safety. The cord can be and has been used to hurt officers before. An officer has to turn their head slightly away and move their body towards the mic. This takes your attention off of the suspect or issue at hand.
A lot of officers have suggested bringing the cord behind your back and clipping the mic on the center of your chest, just below your chin (We’ll talk about this in suggestion #2). This way you’re not turning your head to talk, keeping one arm free, and your attention remains on the subject at hand.
The Best Way
Thread the cable under your shirt and clip the speaker mic between the buttons on the outside your uniform. This way the cord is secured inside the shirt, rather than fully exposed, with just the mic showing.
This was recommended by Bob Hindi, a researcher on safety among police officers and their equipment (source). He mentions several reasons why this would be a good placement.
- The cords do not interfere with duty belt equipment
- The cord can not be used to strangle you
- Harder for someone to take your mic
- If it becomes loose, it hangs in front of you and you can still access it.
- Centered across your body so it's easily accessible to both hands.
- Don’t turn your head when you transmit.
Best Placement for Firefighters and Emergency Services
A study done by the Fairfax County Fire and Rescue Department Communications Sector determined the best possible location for both your radio and speaker mic.
Their findings suggest holstering your radio in a protective case attached to a shoulder strap and running it above or underneath suspenders, across your body.
Run the speaker microphone cable across your chest and clip it on the strap just below your shoulder. Put on your coat, unclip the speaker mic and let it hang to the side outside your coat.
Buckle up your coat. The speaker microphone should be hanging out of the top of your coat. Fasten the coat and collar flaps. And lastly, clip the mic to the front of your coat (on a lapel).
Here is what this set up should look like when finished.

The speaker mic should be outside attached to the coat, not hidden underneath the coat flap or in a pocket. This ensures the cord is not directly exposed, keeps it secure to your body (not loose), and the PTT and emergency button are easily accessible.
Tips for Best Placement
1. The mic should be vertical and face towards your mouth.
2. Make sure the cord is not interfering with your work or duty belt.
3. The cord must be tight but move with your body.
4. The clip must be securely attached to the uniform, so it doesn’t fall off.
There are a lot of opinions on what is considered the best placement for a speaker microphone. It’s important to take into consideration your safety and how easy it is to transmit and listen. These suggestions above were the most common and addressed when it comes to the best placement.
Have a tip or suggestion we didn’t mention here? We’d love to hear it. Leave a comment below.
Here at Waveband Communications, we are a two-way radio accessories manufacturer that has supplied speaker microphones to thousands of departments across the nation. Shop our selection of accessories compatible with Motorola, Kenwood, Harris, and more.